Contribution
If you want to contribute, please follow theses steps:
- Ensure you are part of the IBISC-Documentation organisation
- Create a branch or fork the repo. As convention, please use
name-subject. For instance, if my name isLisaand I want to write a page onpytorch, create a branch namedlisa-pytorch. - Do all the modifications you want on the
docsdirectory. You should not modify other files unless there is a clear reason. - Check that the website runs locally and the page you added/modified displays as you wanted to.
- Do a pull request to
website-deploybranch, and wait until someone has verified your contribution. This is to ensure that the deployment branch has verified contents. - Enjoy your changes on the website (it can take few minutes to be updated once the pull request has been accepted): Website
Example
Let’s see step by step how to contribute. For the example, we will add a markdown page with just a title “Example”.
1. Organisation
I assume the first step (being in the IBISC organisation) is already done.
2. Create a branch
Let’s create a directory where we will clone the repo.
mkdir ibisc-doc
cd ibisc-doc
Let’s clone the repo:
git clone https://github.com/IBISC-Documentation/ibisc.documentation.github.io.git
Now I can create a branch, following the convention of names. As an example, I will create the branch admin-example, as I am the administrator and I will contribute to an example.
Please change the name and the branch for your case.
git checkout -b admin-example
It will create the branch and checkout to this branch directly.
3. Do all the modifications
I will create a page. The page should have a title, layout and nav_order. The title is the name of the page, layout is the reference page (home usually) and the nav_order the order in the home page.
Let’s create a directory where the markdown will be:
mkdir docs/example
Open your favorite IDE and create a docs/example/example.md file. For instance:
vim docs/example/example.md
Then, you can paste the following content:
---
title: Example
layout: home
nav_order: 2
---

# Example

This page is an example
You can now commit this change:
git add docs/example/example.md
git commit -m 'add(example): an example file for the tutorial'
Then, you can push to the branch:
git push origin admin-example
4. Run locally
We can now see the changes. Let’s run locally the website by doing:
make run
If you have a Windows computer, it won’t work. To run it Manually, use:
bundle install
bundle exec jekyll serve -c _config-local.yml
You can also run it using Docker:
make docker_start
or the equivalent command lines:
docker build -t ibisc_doc .
docker run -it -p 4000:4000 ibisc_doc
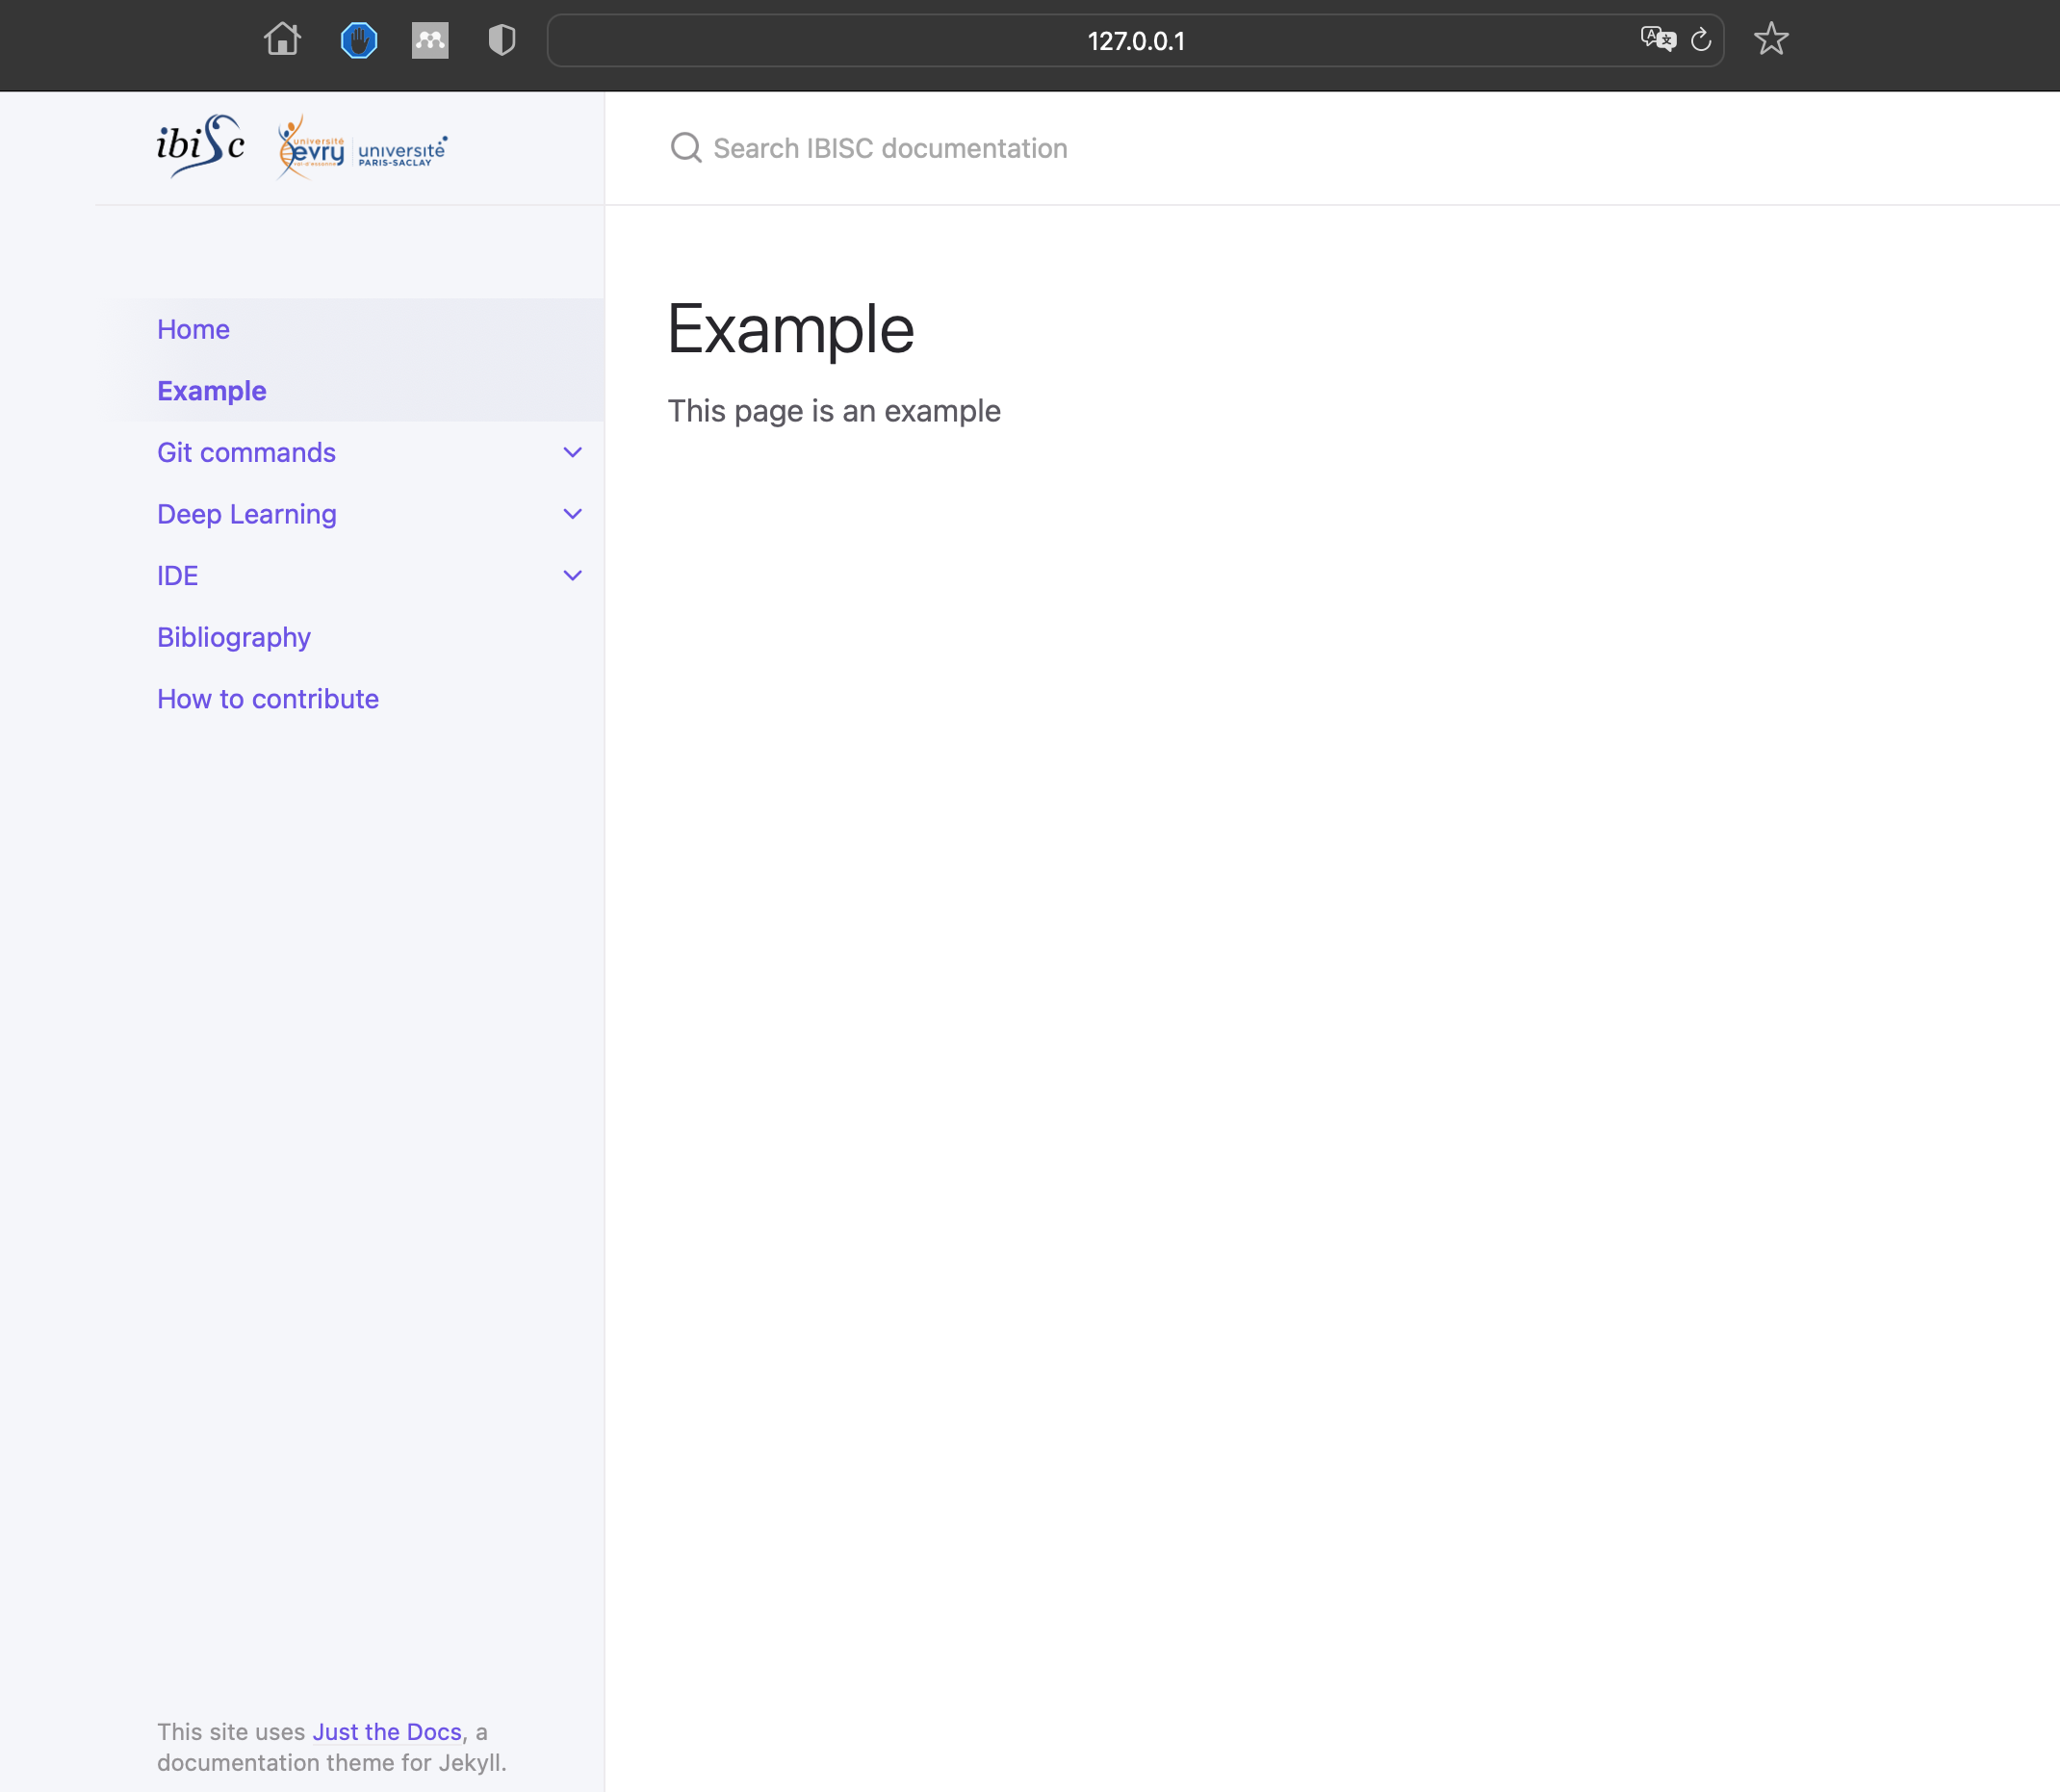
You can now see the changes in the address localhost.
You should see something like that:
5. Do a Pull Request
You can now do a Pull Request.
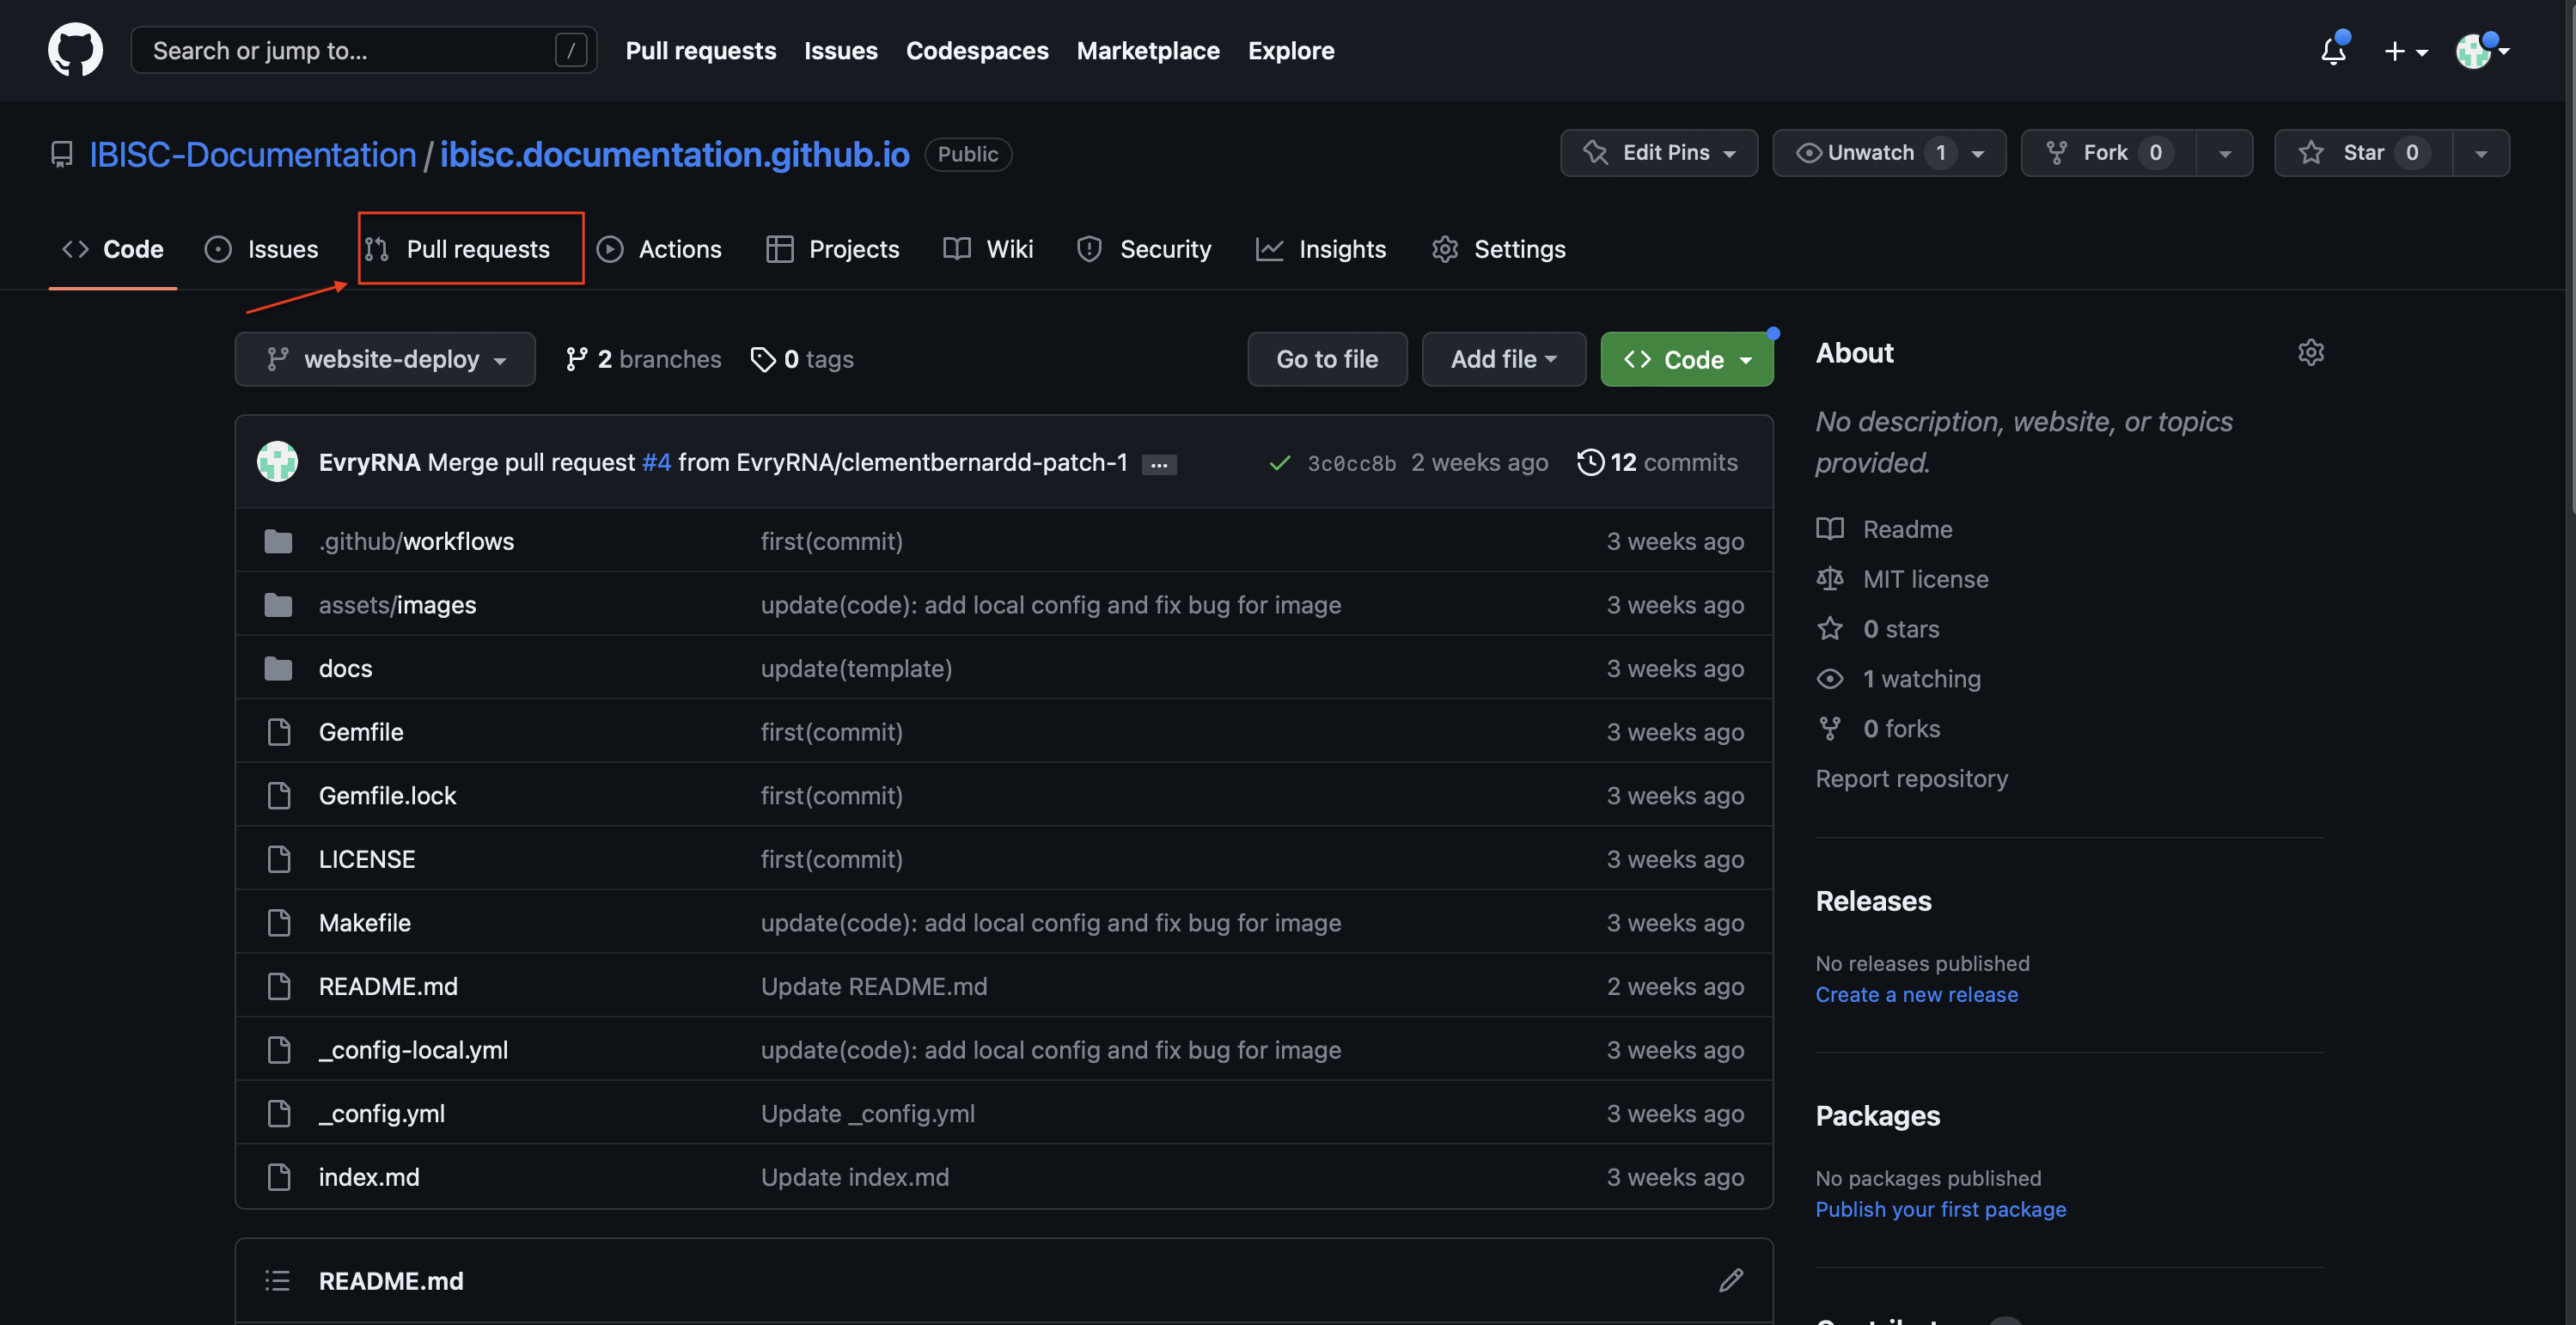
Go to the github page.
Click on the Pull Request:
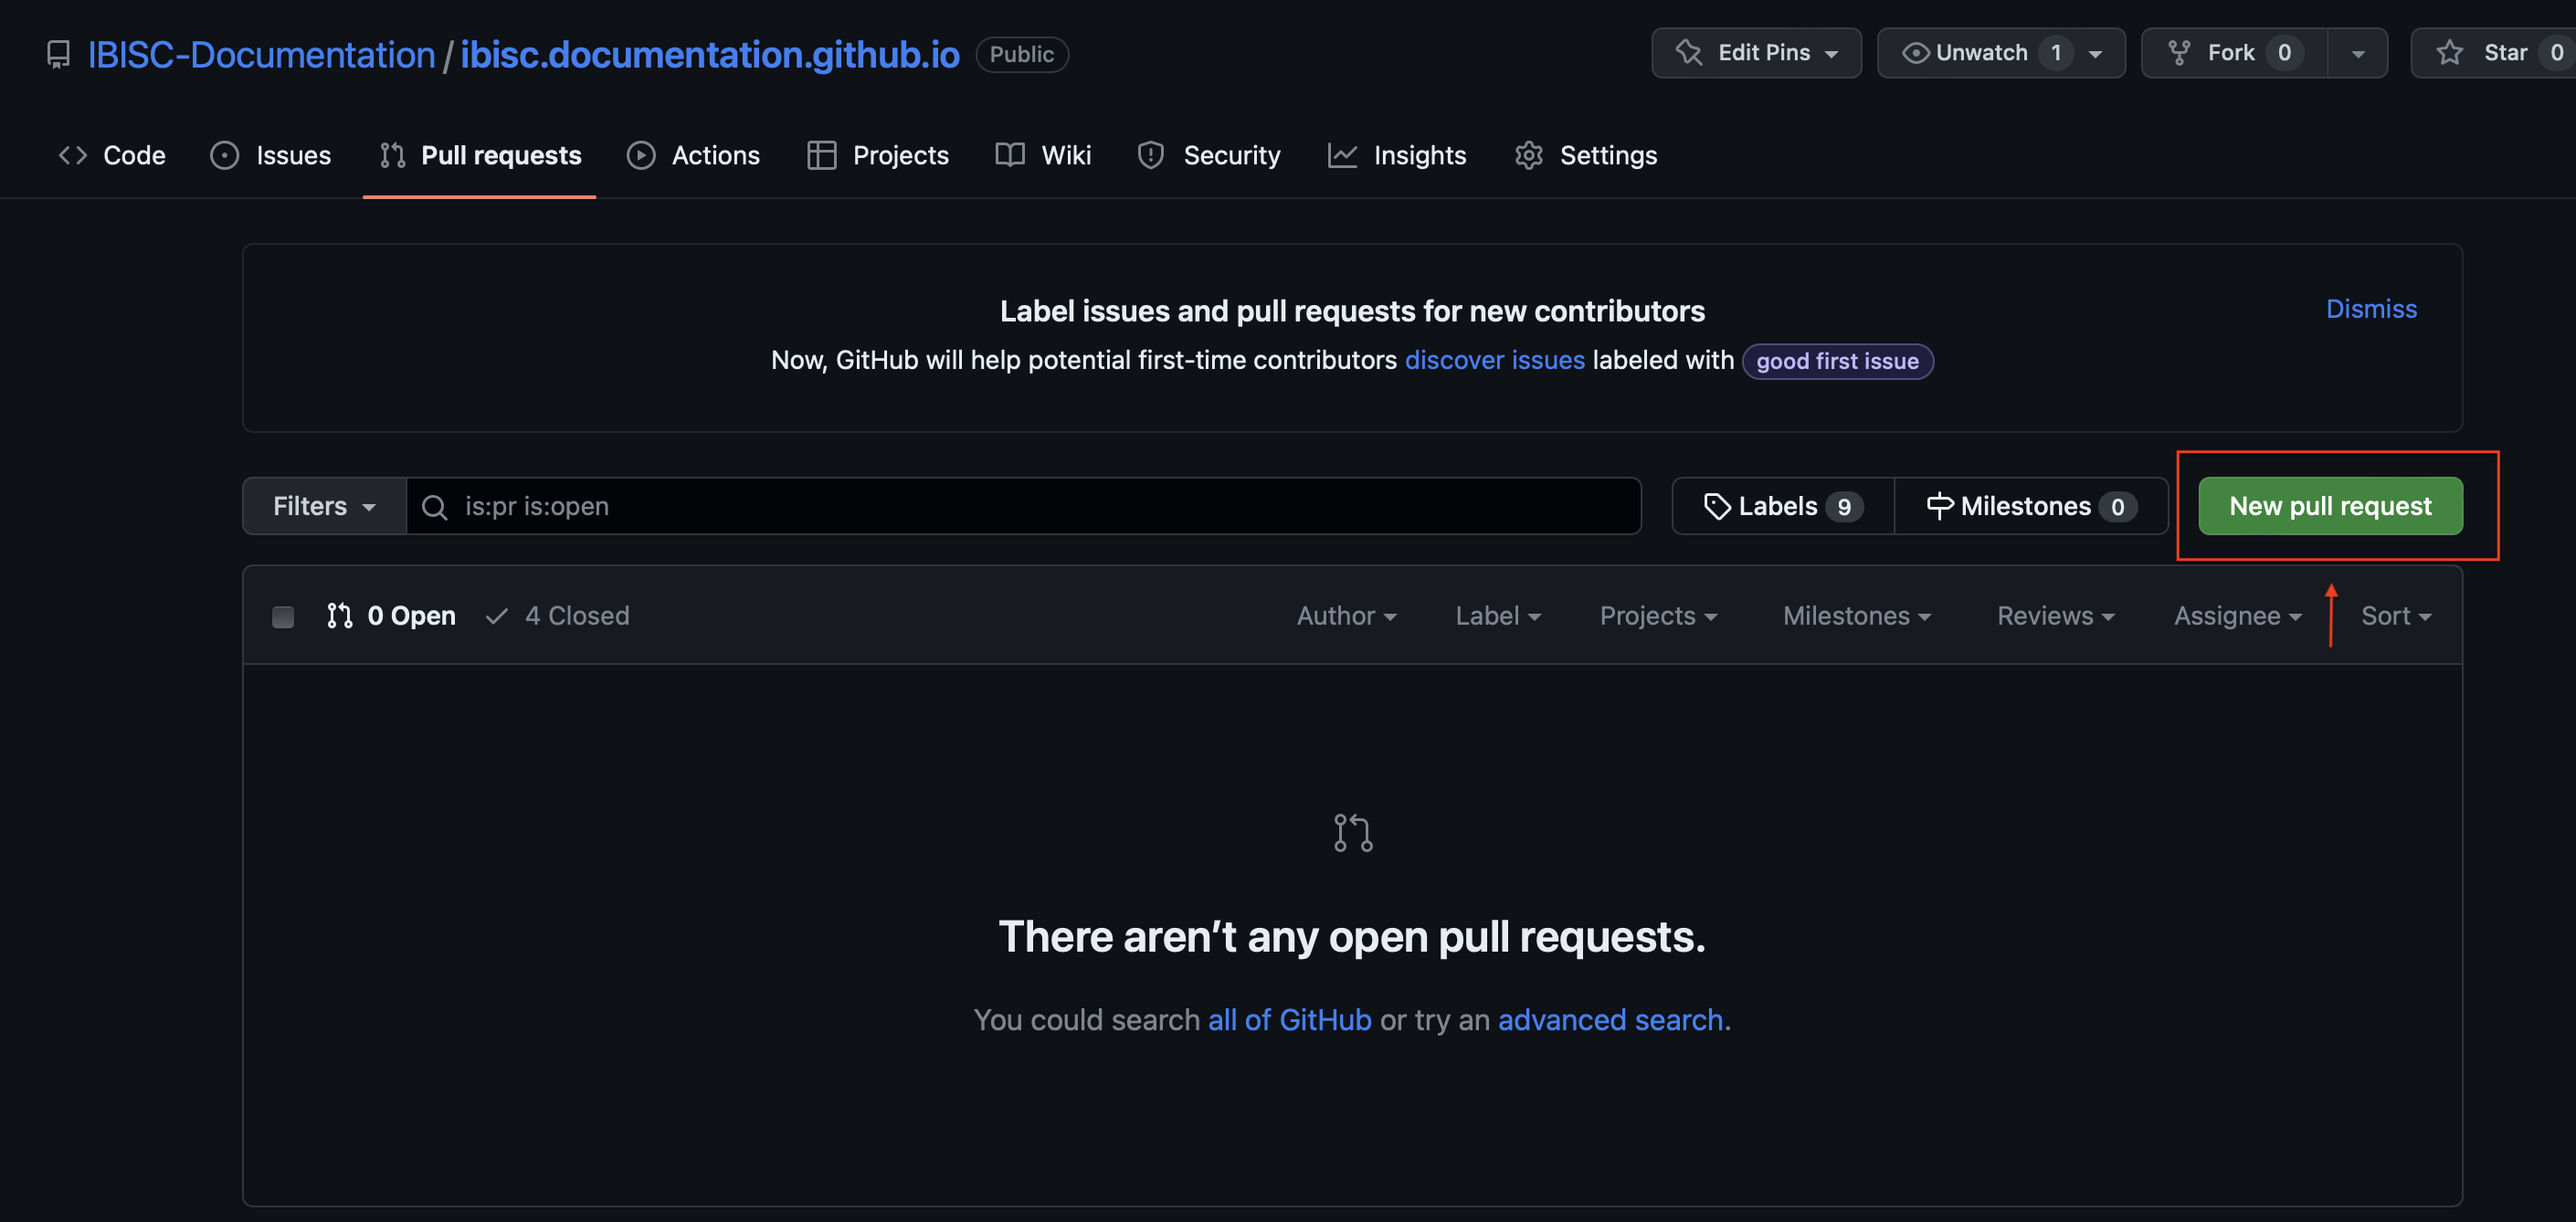
Create a new Pull Request:
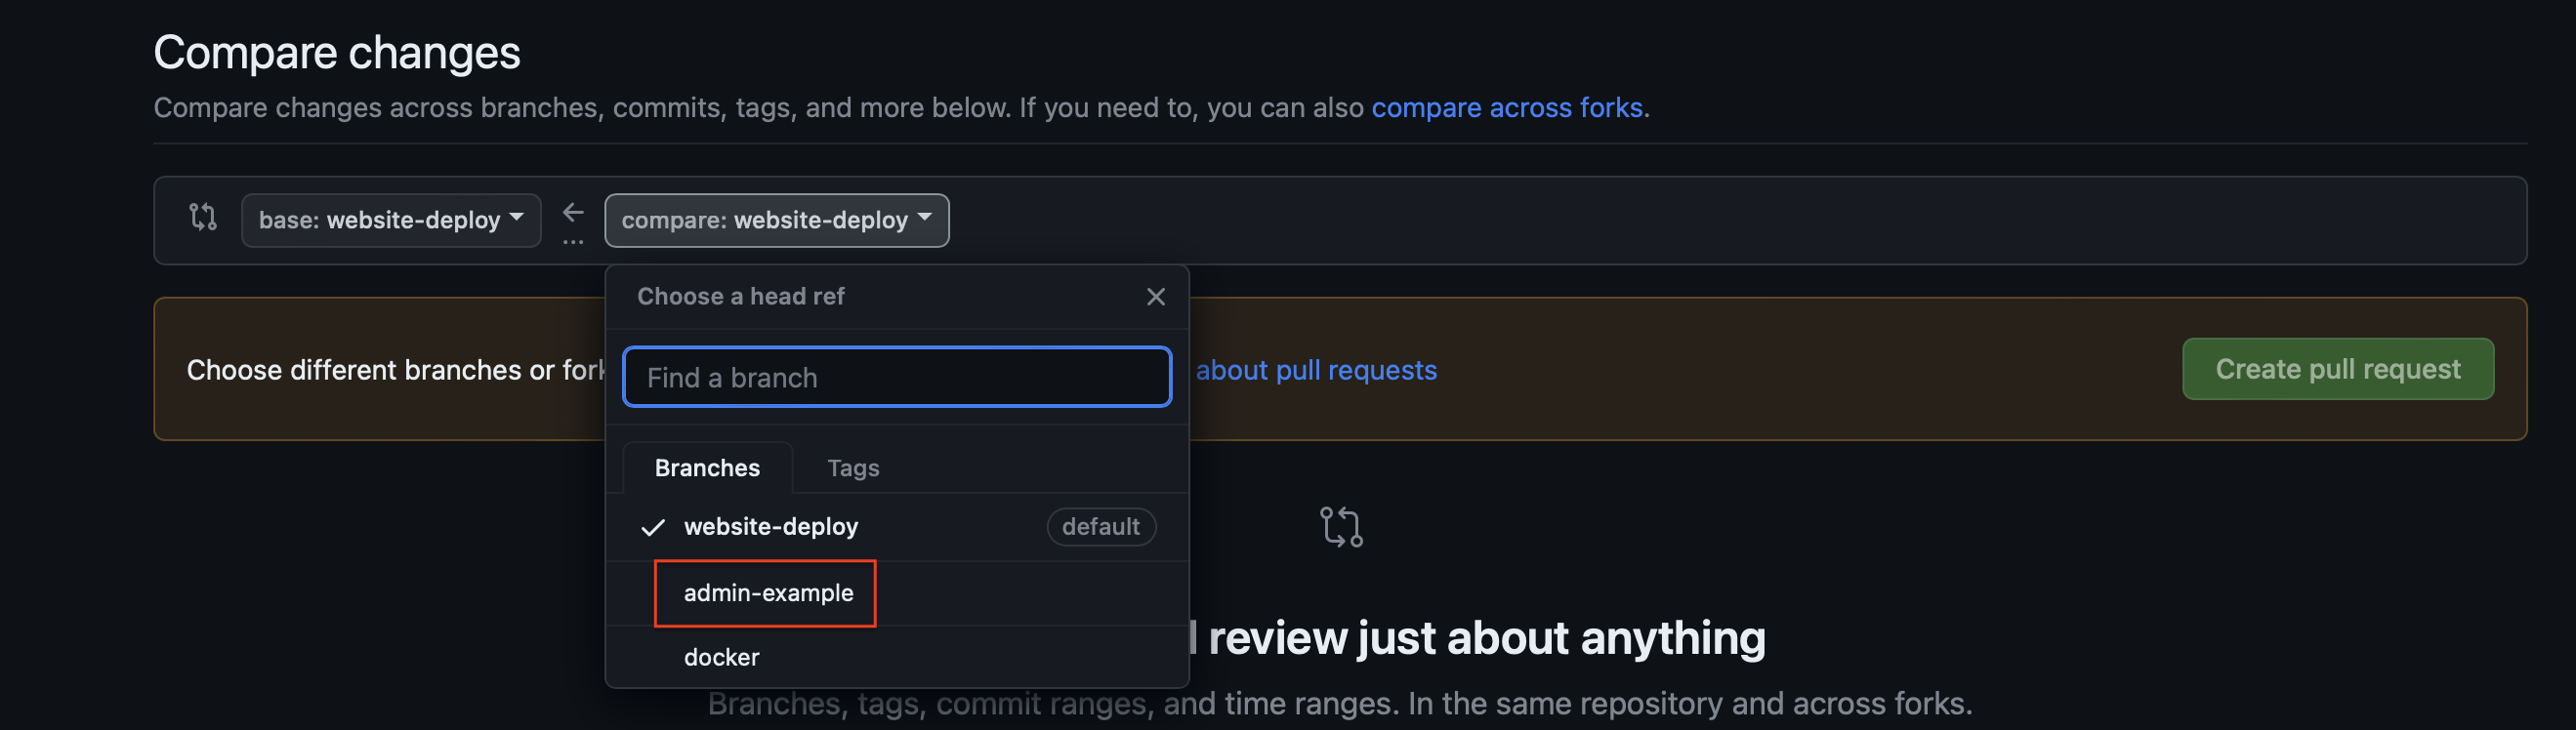
Choose the good branch to compare:
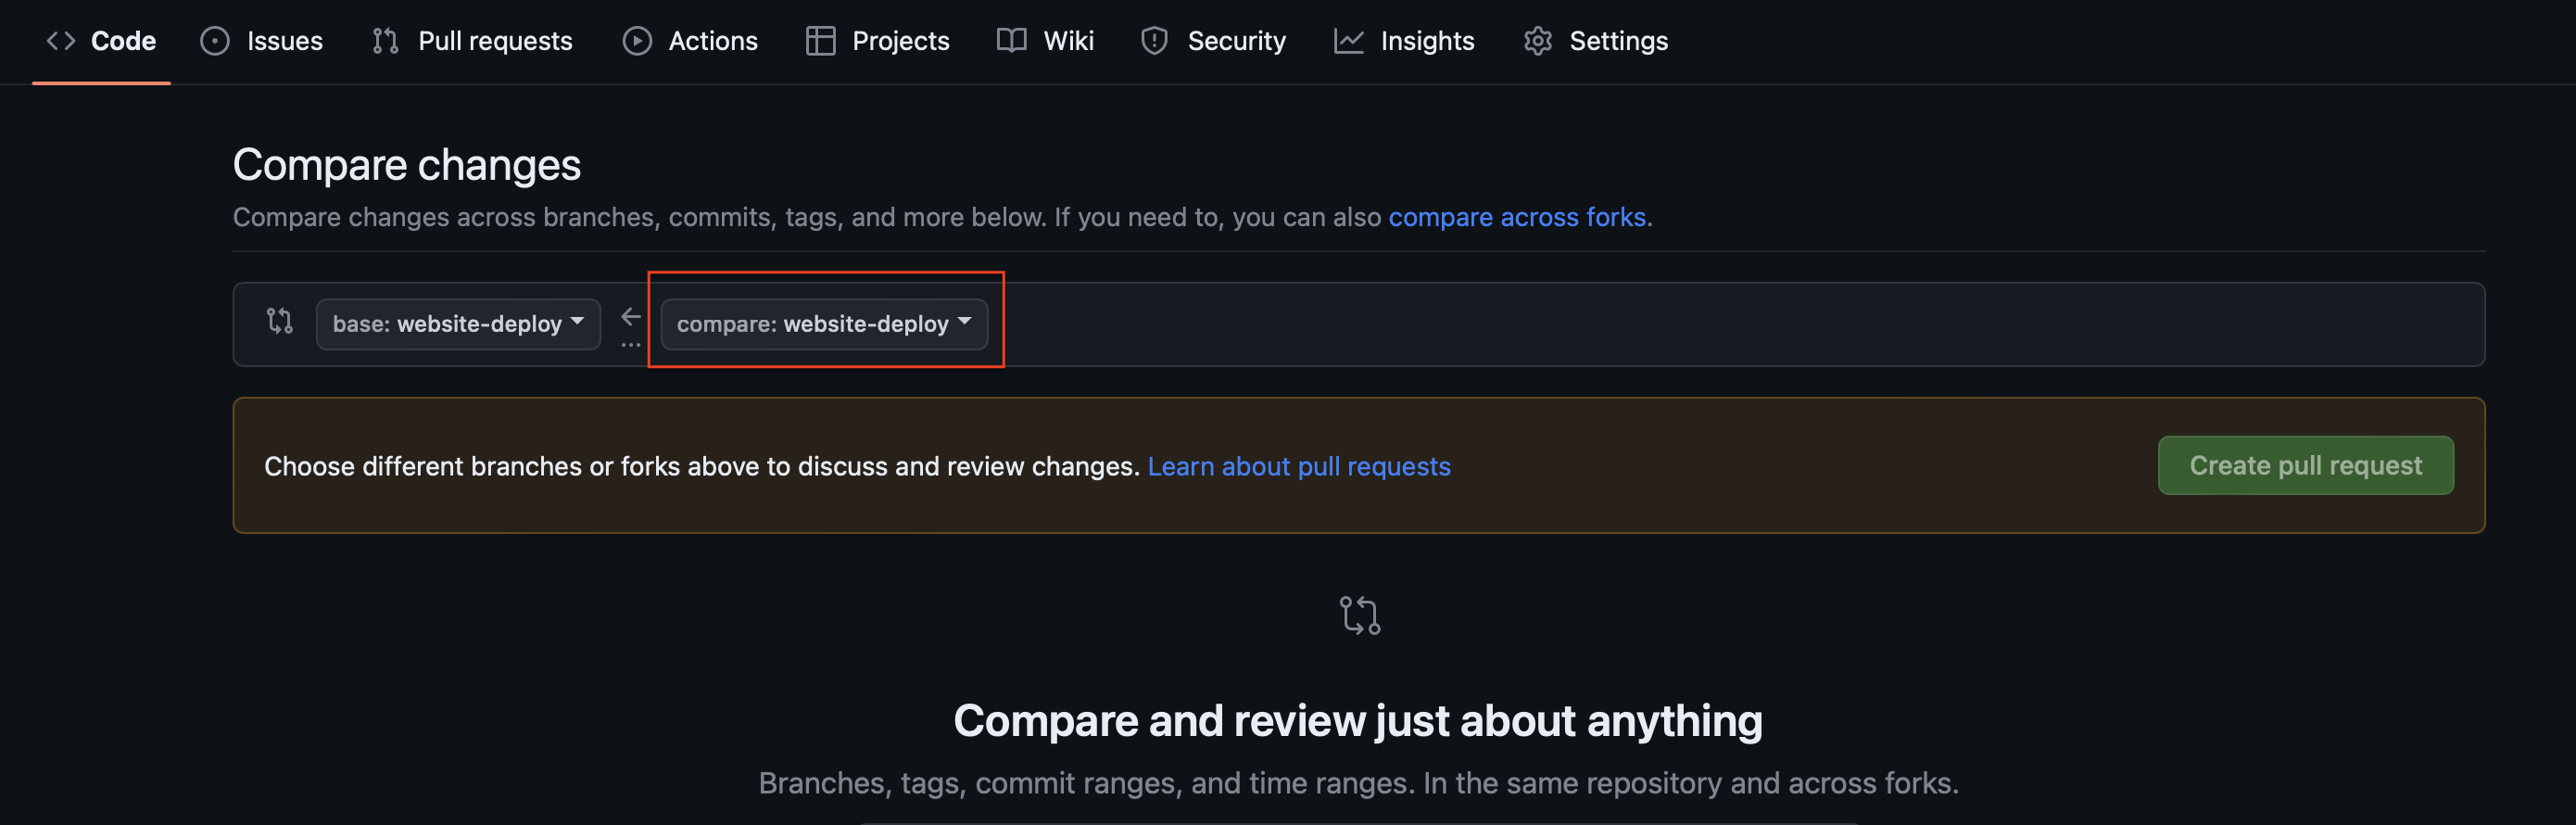
We select the admin-example branch:
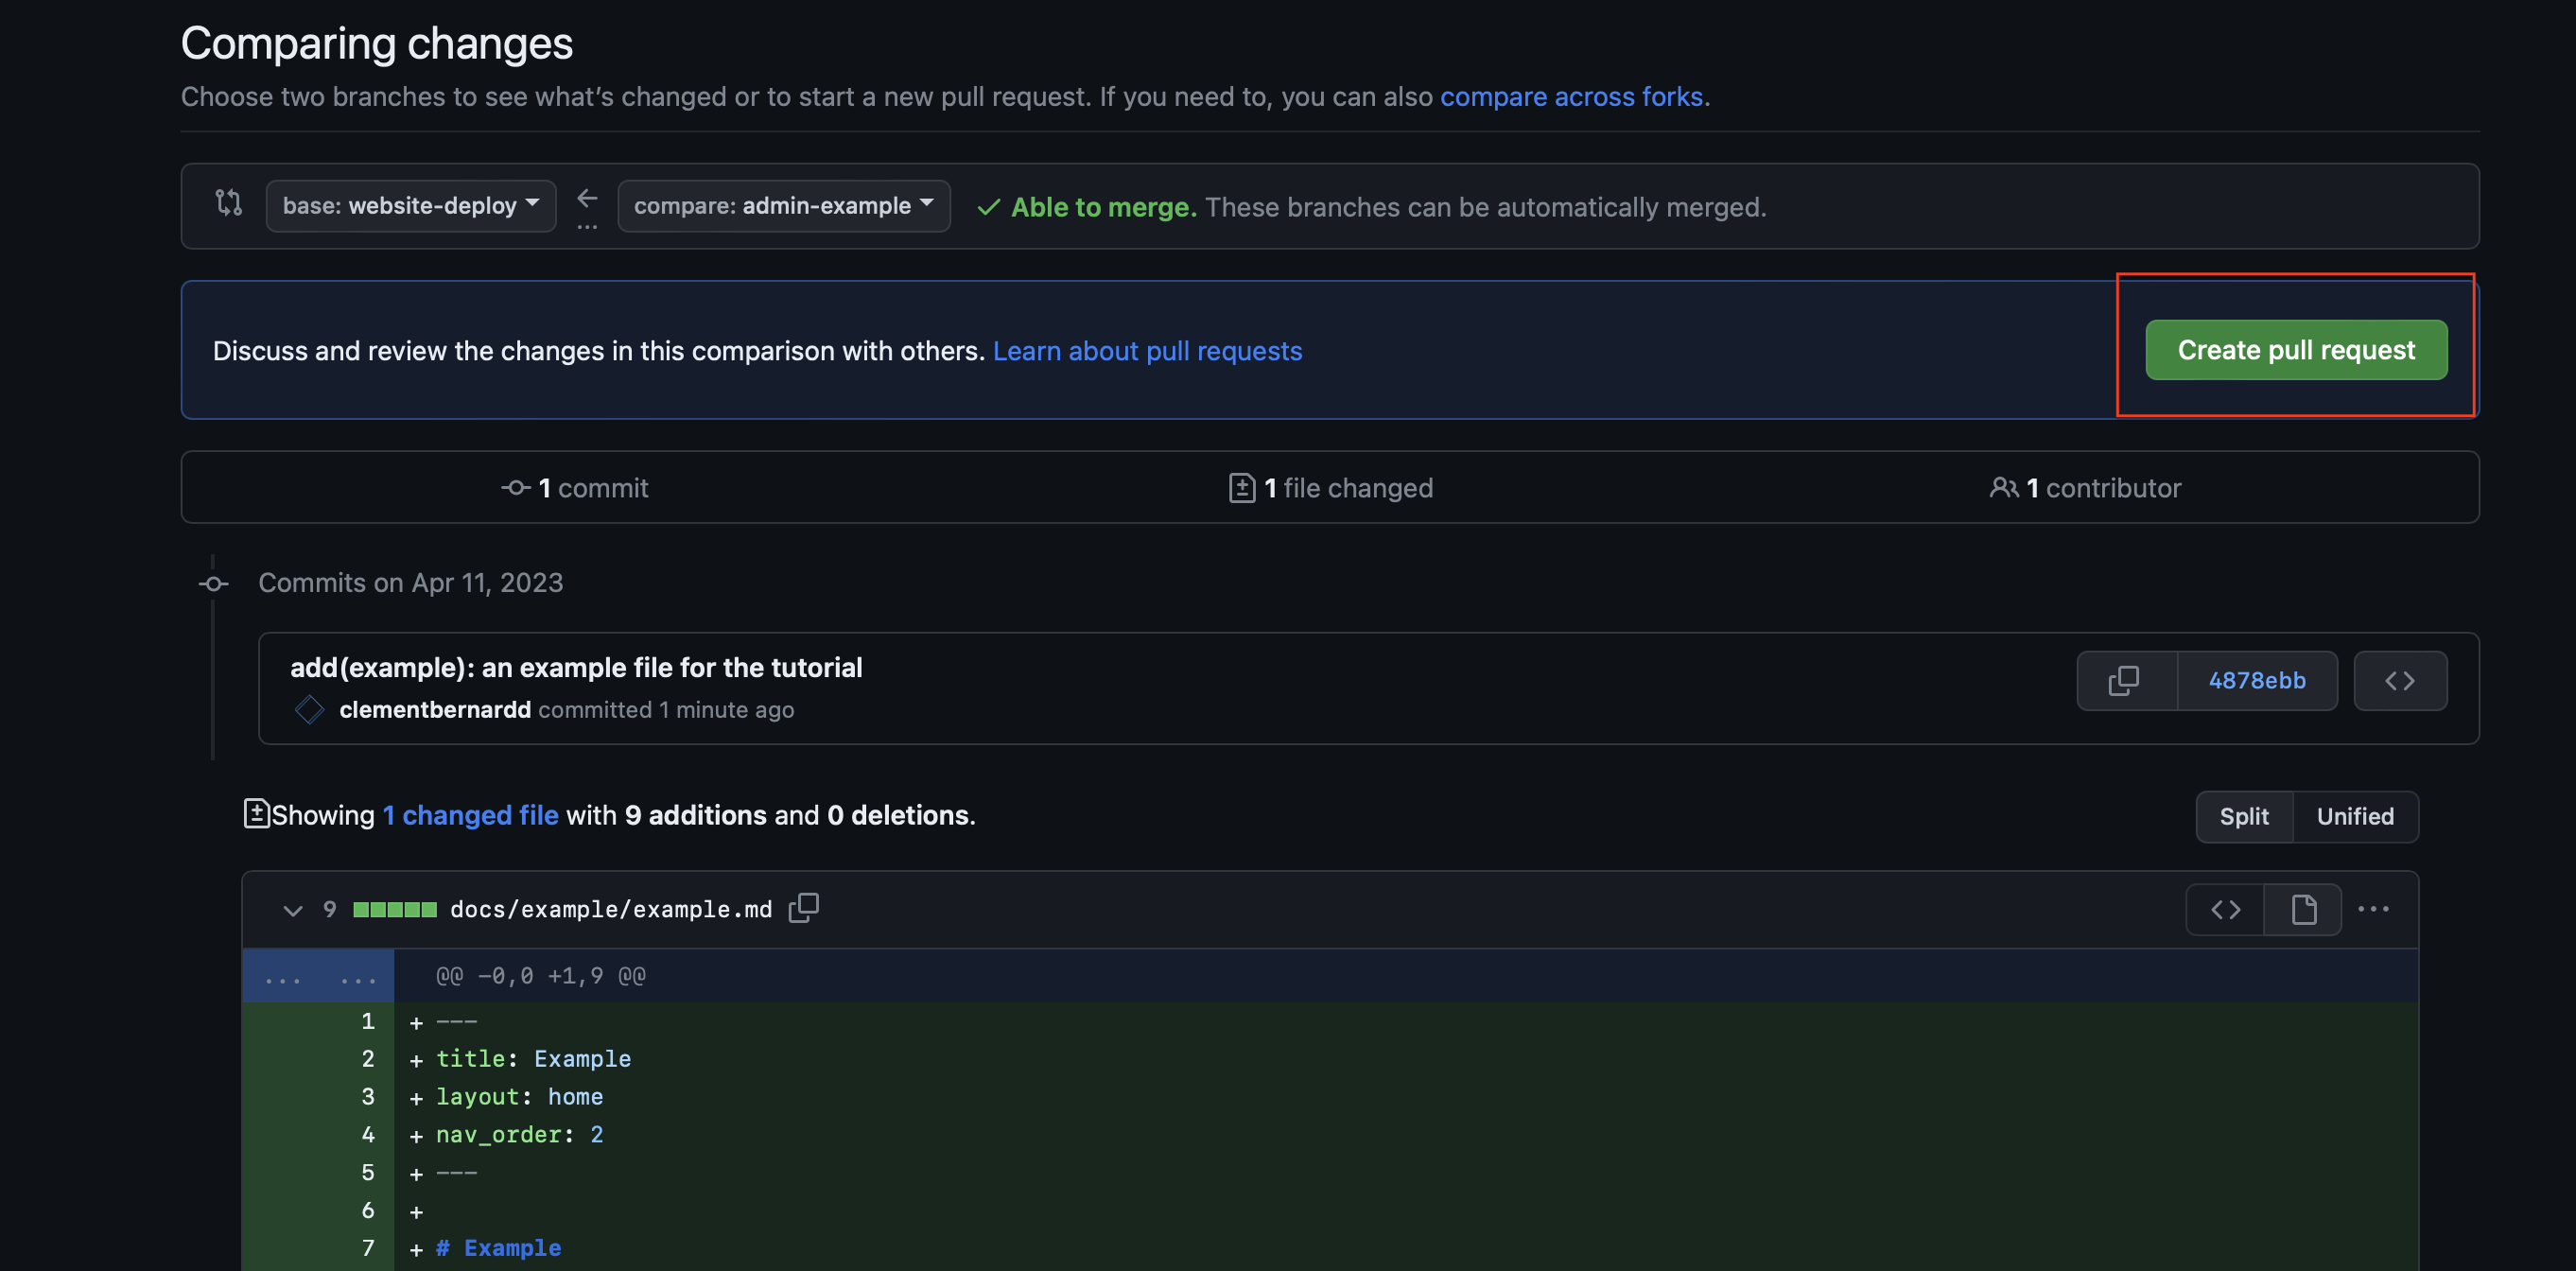
We can then create the PR by clicking on the Create pull request button:
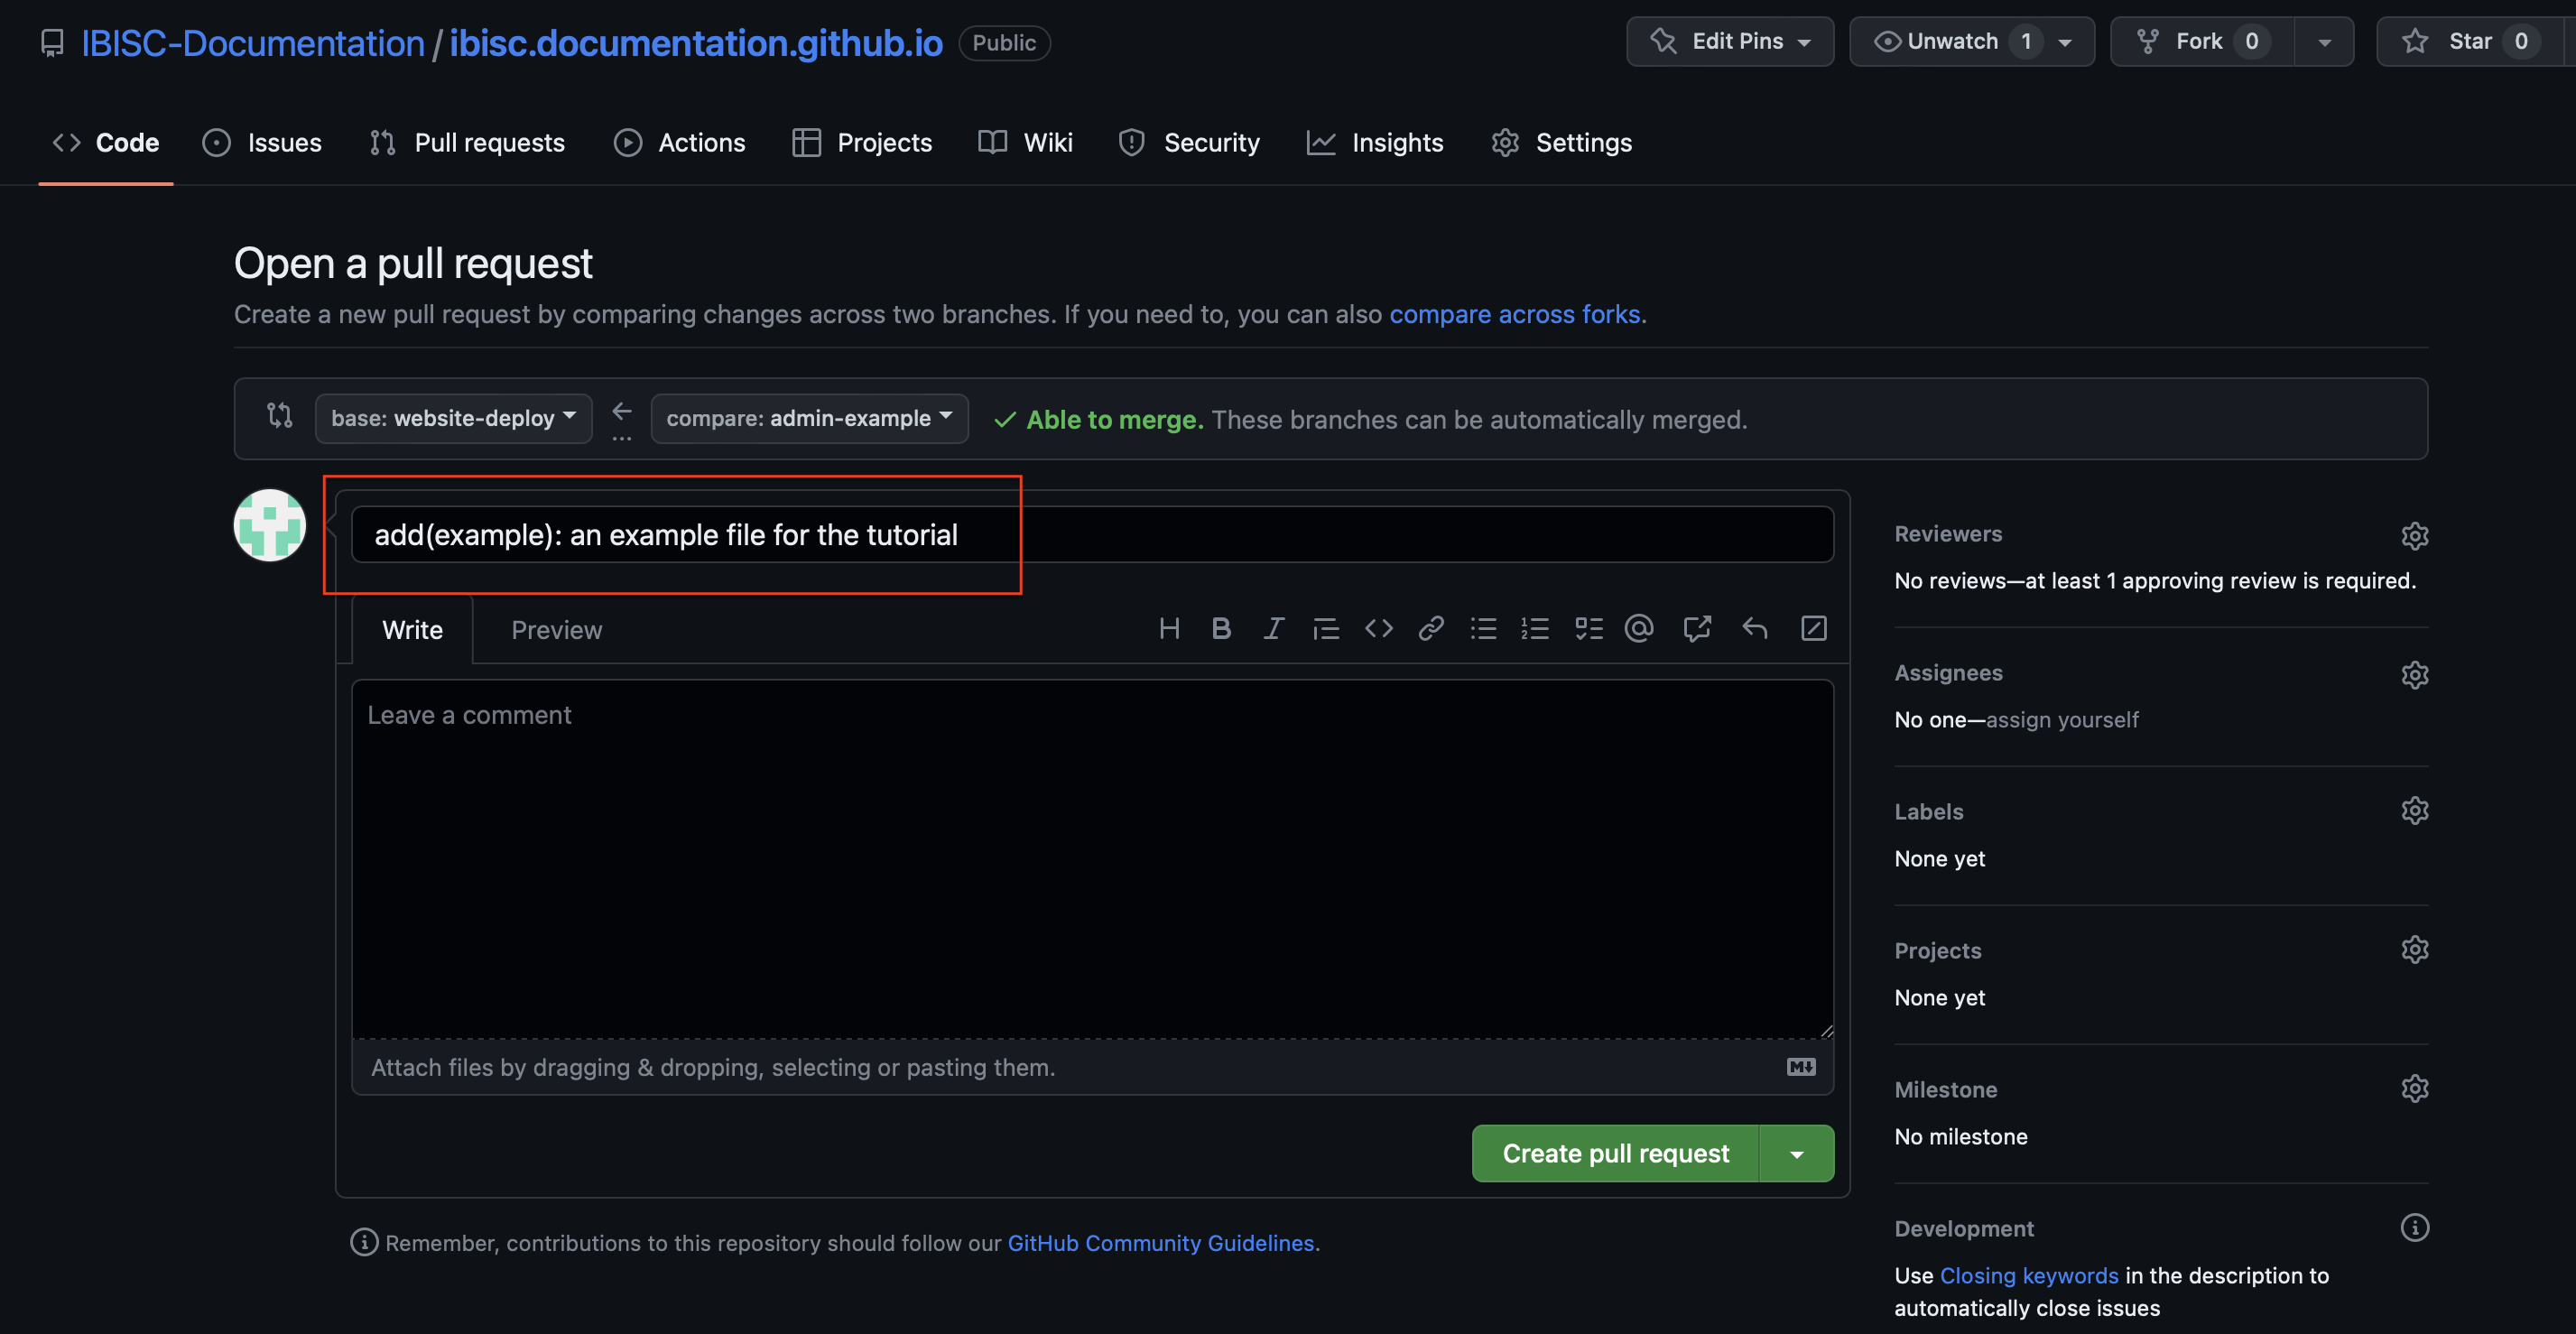
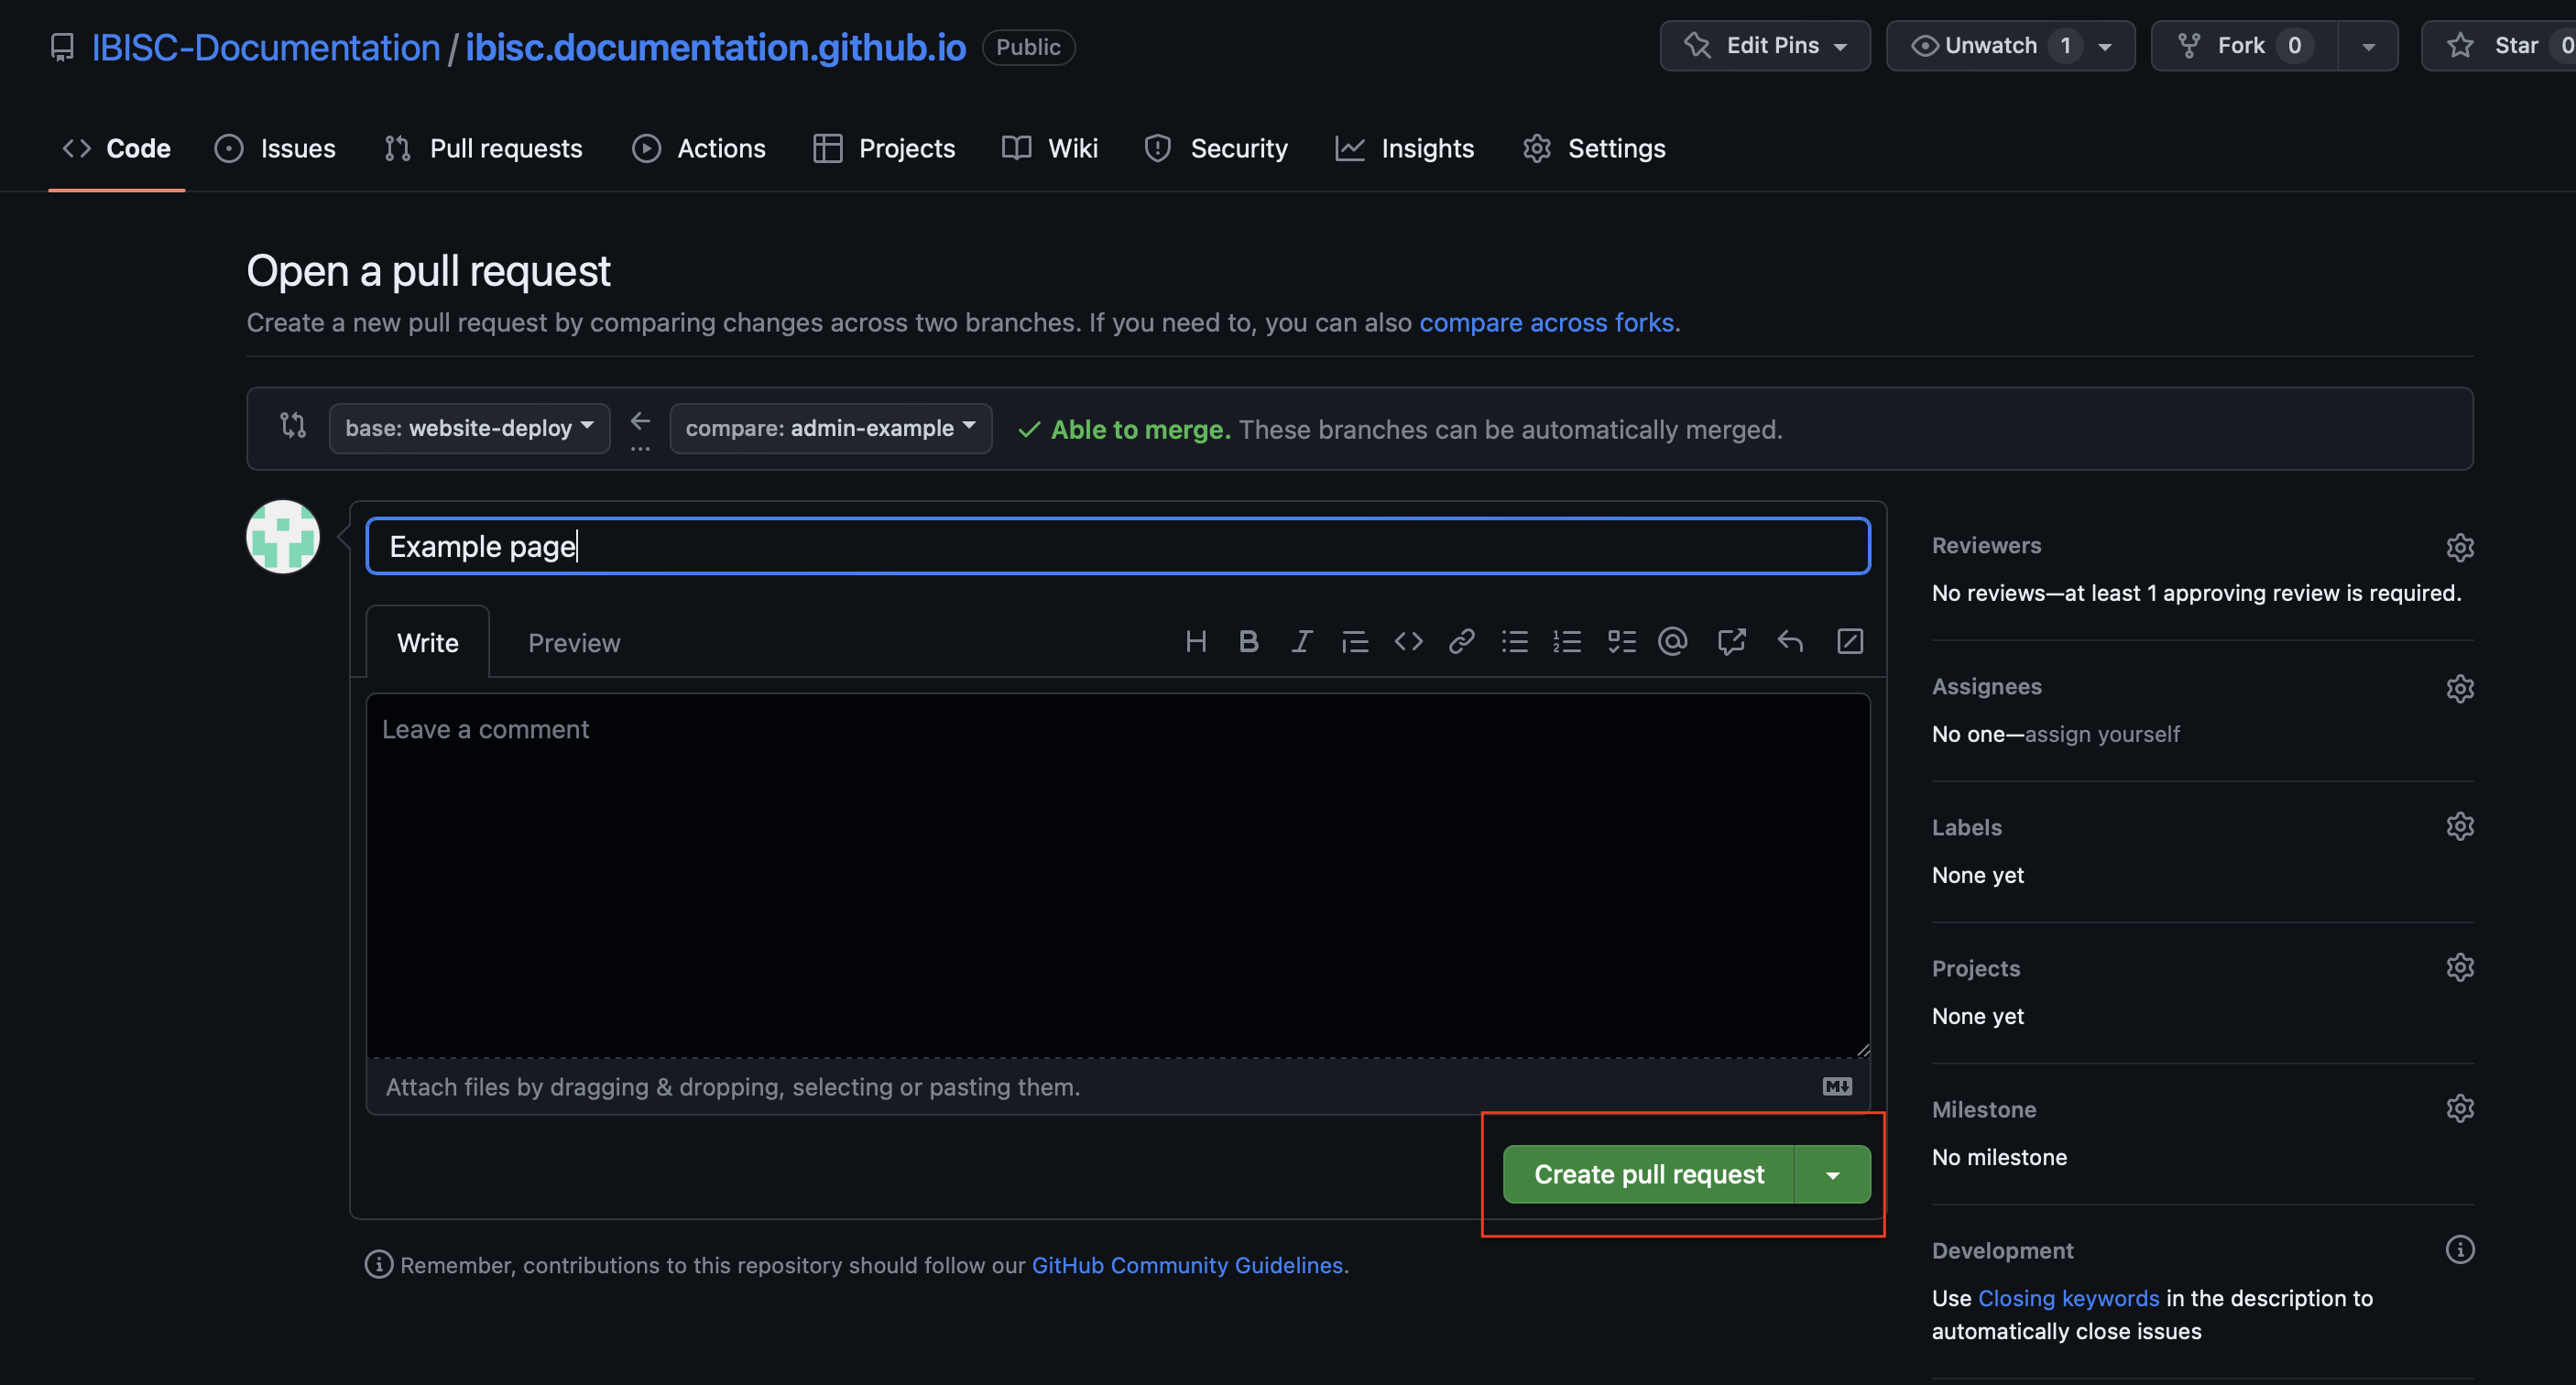
It will then open a page with the PR summary. The name of the PR usually is, by default, the name of the last commit. Please change it to a more precise name:
Then, you can create the PR by clicking on the Create pull request button:
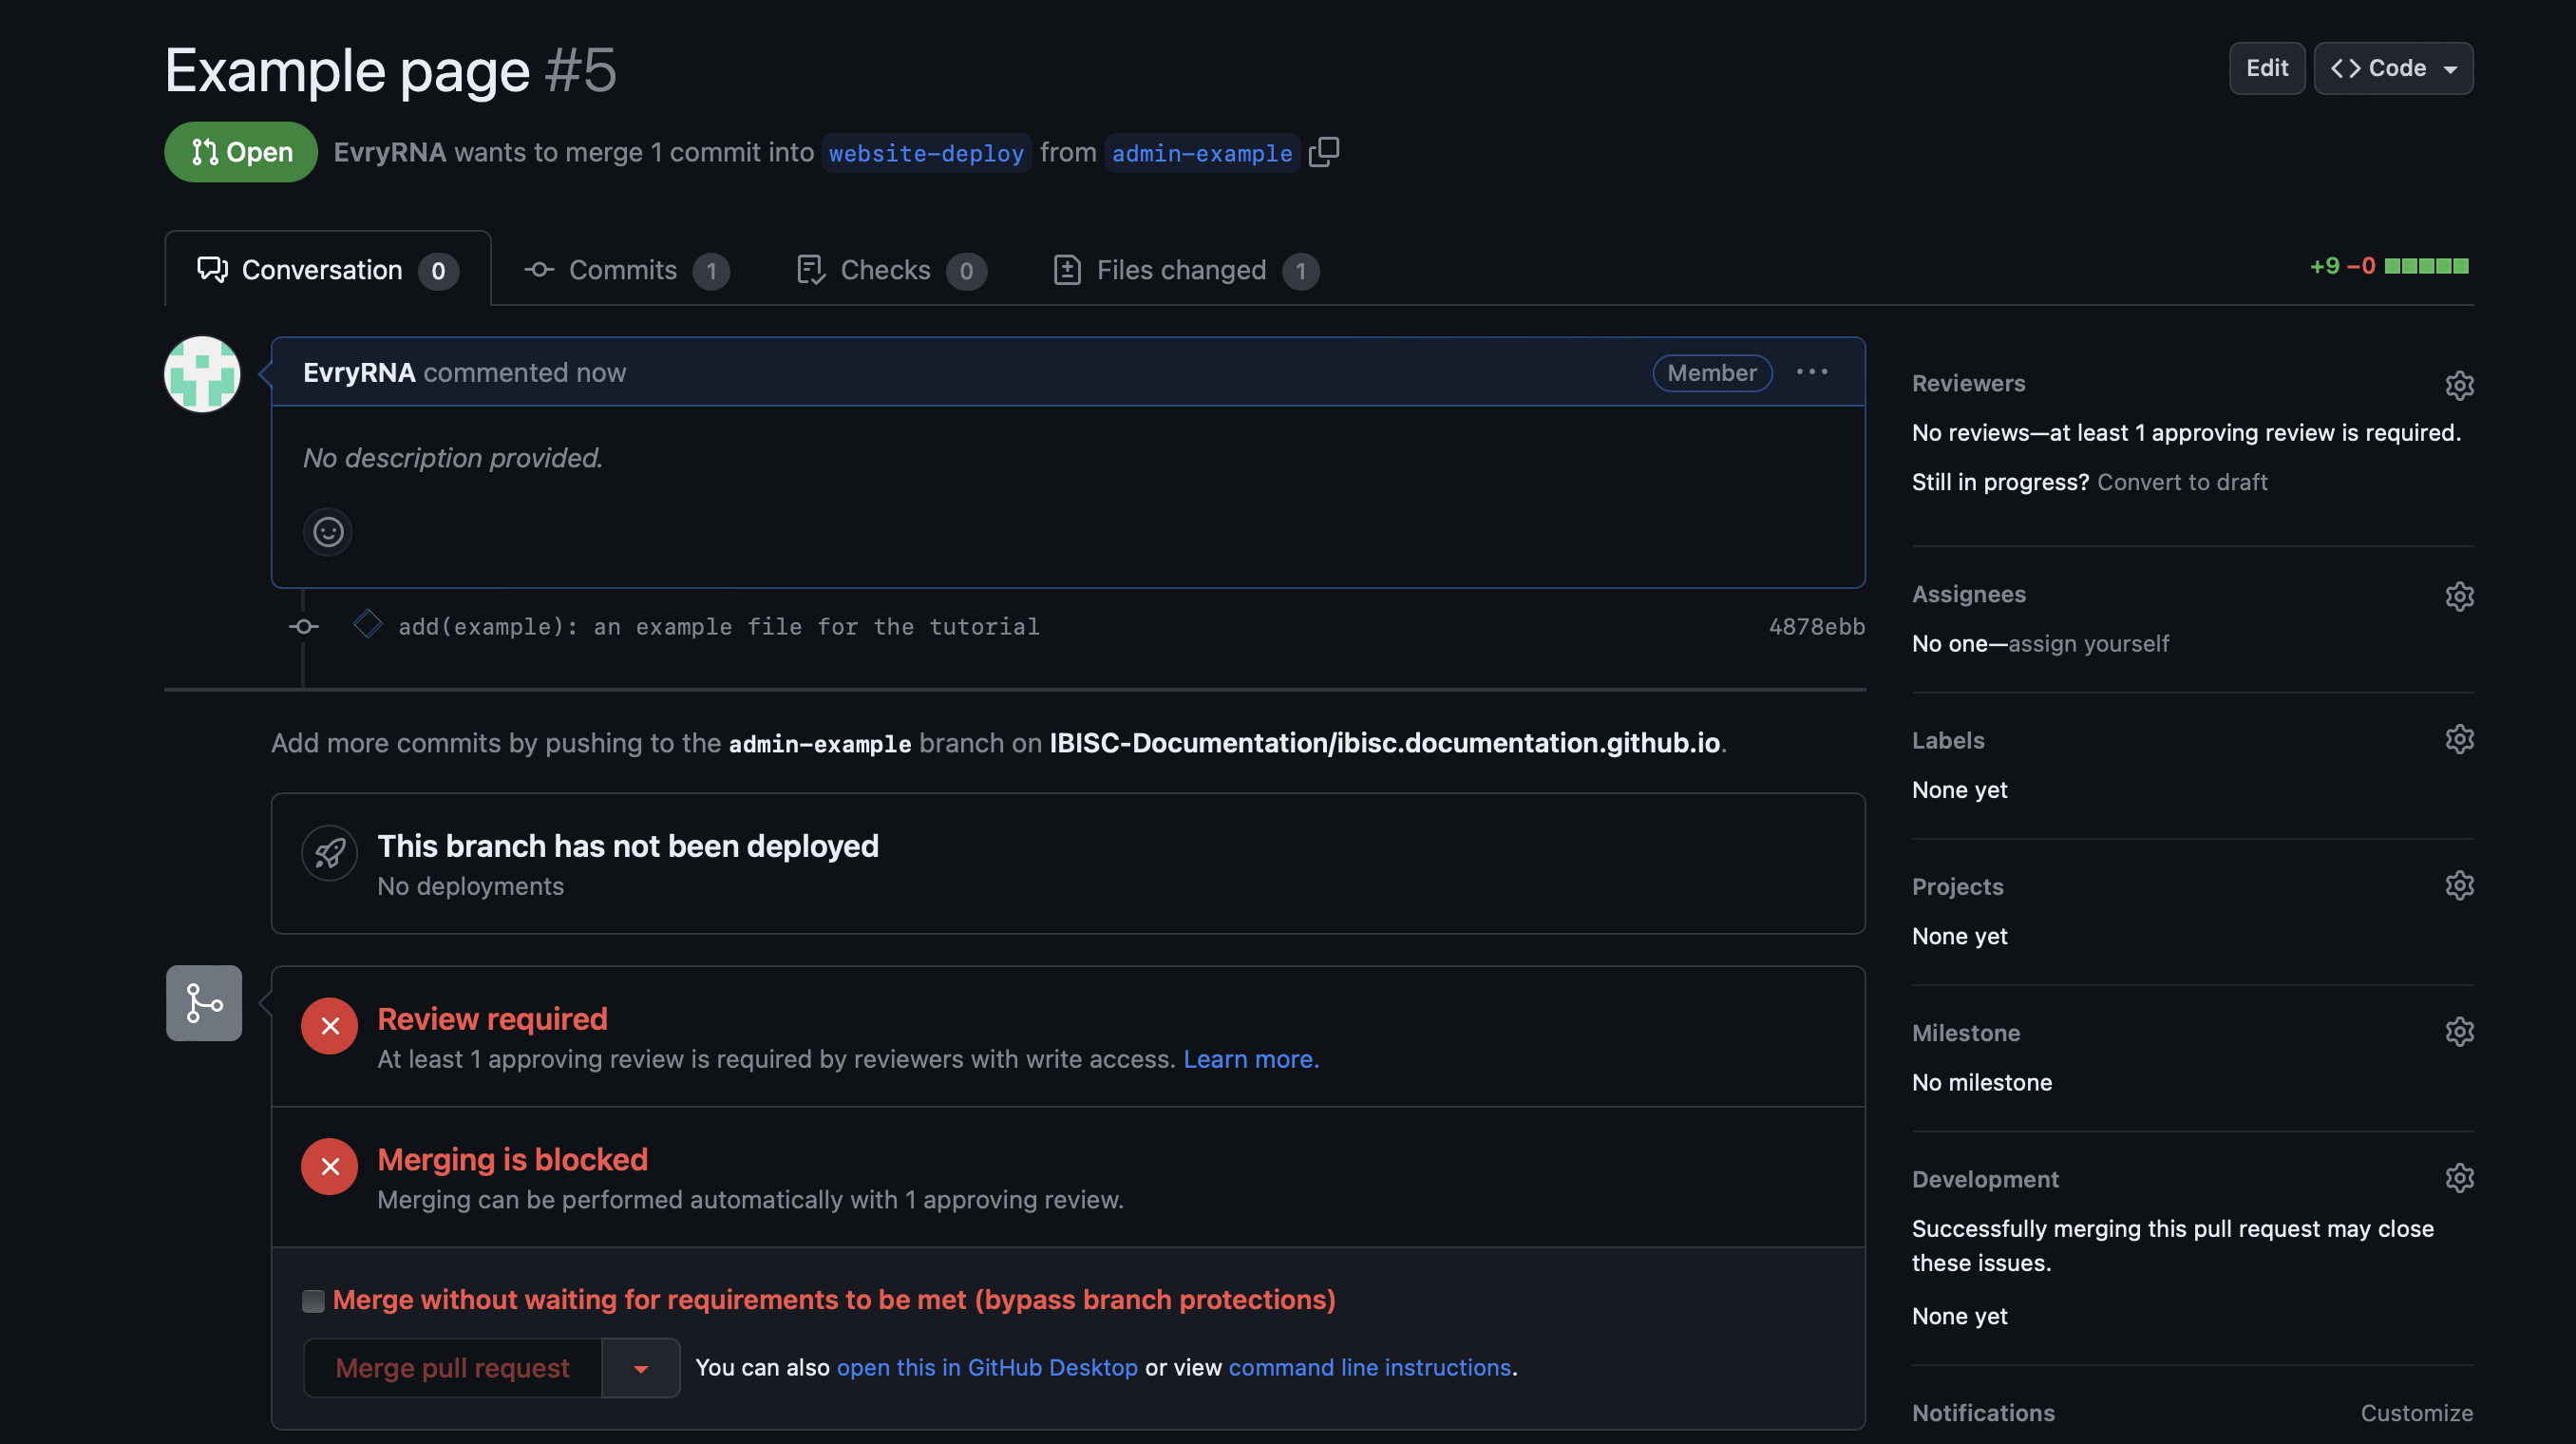
It will then open the page with the PR. You would need to wait until someone has accepted the PR before seeing the results in the official website.
If you have any question, don’t hesitate to ask in the Discord OR to open a Github Issue.